
Whether you’re making a towering skyscraper of buttercream or a one-bowl wonder, baking a cake is an investment- in time, in ingredients, and in pride. And with so much on the line, it’s only logical that you do everything you can to guarantee that your cake is realized as slices on plates rather than scraps in the trash can.
Tips
With tips from Alice Medrich, baking expert extraordinaire, you (and your cake) are in good hands. From the recipe you choose to the time you allow your cake to cool before digging into it, Alice’s 10-step program will help ensure your cake (and your ego) remain intact.
Here’s what to do:
-
Pick a reliable recipe
-
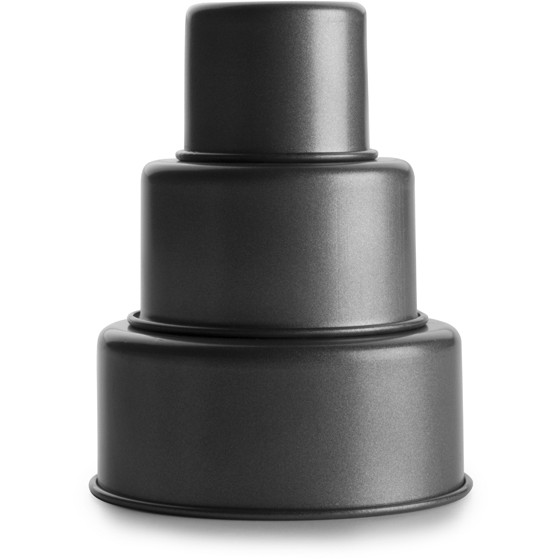
Adjust your recipe to fit your pan size
-
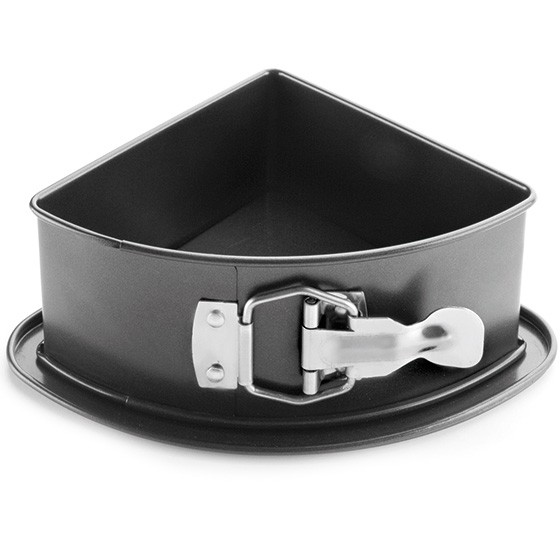
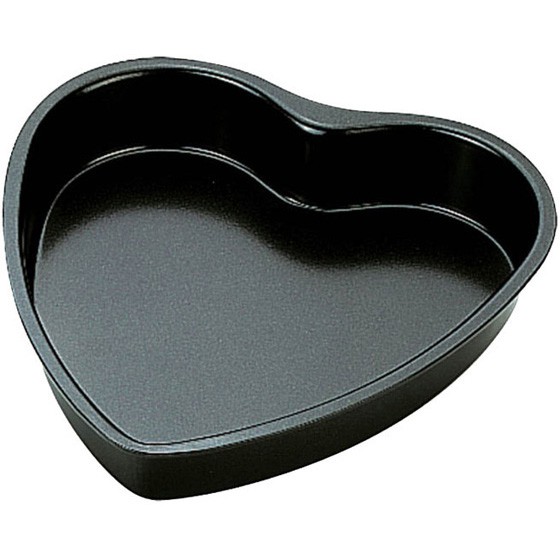
Figure out what you need to do to prepare the pan
-
Properly position your oven racks
-
Make sure your leaveners are fresh
-
Ingredients are at the temperature specified
-
Use a scale to measure your ingredients
-
Make sure your cake is finished before you take it out
-
You’ll need to cool your cake according to the recipe
-
Don’t ruin your cake when you remove it from the pan
Pick a reliable recipe from a book, website, or author you trust, and make sure you’re using that book- its front matter, its headnotes, and its ingredient list, as its meant to be.
Before you get started, adjust your recipe to fit your pan size if necessary. You don’t want to bake a 28cm round cake in 22cm round pan.
Depending on the recipe, you may leave the pan bare, line the bottom with baking paper and grease the sides, or grease and flour the whole pan.
If you’re baking one cake, position the rack in the lower third of the oven. If baking two cakes on multiple racks, position one rack in the upper third and another in the lower third. Rotate the pans from upper to lower and from back to front a little over halfway through baking time.
It’s more important to be vigilant with your baking powder than your baking soda.
Cold butter and eggs and no time to wait for them to warm up? No problem. There are fast and safe ways to bring these ingredients up to room temperature.
Use a scale to measure your ingredients- especially non-wheat flours. (And make sure that scale is accurate!) If you’re not using a scale to weigh flour, it’s especially important that you’re measuring the flour the right way: Never shake or tap the measuring cup to settle the flour, or you may end with a dense, heavy cake.
Alice recommends a toothpick rather than a metal cake tester.
It will be hard to wait, but you’ll need to cool your cake according to the recipe’s instructions. Most cakes baked in lined pans can be cooled entirely in their pans on cooling racks. Don’t cool the cake on the stove- it doesn’t make sense to cool a cake in the warmest place in your kitchen.
You’re so close to victory! Don’t ruin your cake when you remove it from the pan. Detach from the sides of the pan using a knife or spatula, then cover the pan with a rack, hold the rack and pan together, and flip everything over. Remove the pan and peel off the baking paper. To turn the cake right side up again, place another cooling rack on the cake, hold the two racks together gently, without squeezing the cake, and repeat the flip.